ActiveX - Creating the Daisy Object
Creating a program with a valid 'Daisy' object is not a difficult process, but it is recommended that you read one of the many books on ActiveX programming first?
The code shown here was programmed in Visual Basic 6.0 except where noted.
You must also have installed and registered Daisy on your computer.
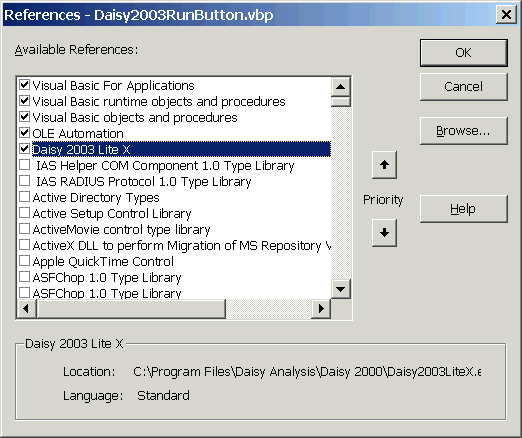
The first thing that must be done is to add a reference to the Daisy ActiveX Component, 'Daisy Lite 2003 X', into your Visual Basic project, which is the name of the Daisy ActiveX component.
Note that the location shown for the program will vary according to where you have installed Daisy.
Similar techniques can be used in other versions of Visual Basic such as 4.0.
A declaration must then be placed in the code to define a 'Daisy' object.
Private WithEvents Daisy As DaisyLite2003
It is also a good idea to destroy the 'Daisy' object on closing the program or the form on which it is loaded. This should be done to try to minimise resource leaks.
The code shown could be used in the Form_Unload routine in a Form.
  Private Sub Form_Unload(Cancel As Integer)
      On Error Resume Next
      Set Daisy = Nothing
  End Sub
The 'Daisy' object also has to be initialised, before it can be used in programming.
    Set Daisy = New DaisyLite2003
  Daisy.ProgramName = "Daisy Test Program"
  ...
Note :-
If you want to run this code in Visual Basic 4.0, you can't use the WithEvents in the declaration. Otherwise, there is no problem.